
How to Clean a Washing Machine: Step-by-Step
Published · Clear Choice Home Cleaning Services
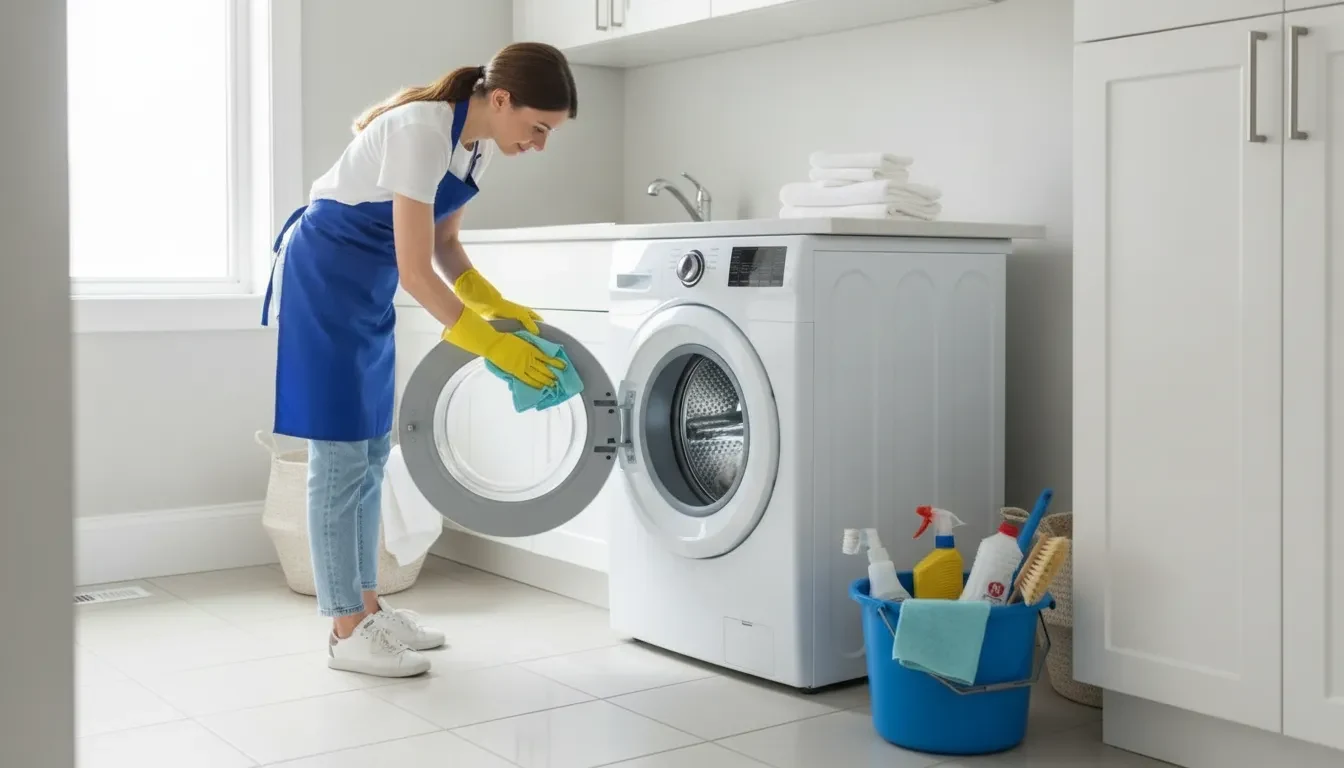
A washer can look clean while detergent residue, soil, and moisture collect in places you do not see, including around the drum and dispenser. A little inspection before cleaning helps you avoid using the wrong product or forcing a part that was not made to come out.
Tell us what you need for your home
To learn how to clean a washing machine safely, start with the exact model’s Use and Care manual. Follow its directions for the drum-cleaning cycle and approved cleaner, then clean only accessible gasket, drawer, filter, and exterior parts as instructed. Front-load and top-load designs differ, so access and care steps are not interchangeable.
Before choosing a cleaning method, check where residue appears and which components your model identifies as user-serviceable. That simple check keeps routine cleaning focused on the right areas and sets up a safe inspection of the washer itself.
Why a washer needs cleaning, and what to check first
Detergent, fabric softener, dirt, and moisture can leave residue inside a washer. The University of Tennessee at Chattanooga identifies these as typical sources of black residue or particles, while the U.S. Environmental Protection Agency recommends following the washer manufacturer’s maintenance guidance. The right cleaning method depends on your model, not a one-size-fits-all recipe. Read UTC’s washer maintenance guidance.
Before choosing a cleaner or cycle, find the washer’s model number and its Use and Care guide. Check the guide for the approved cleaning cycle, permitted products, any dispenser or filter instructions, and safety steps. If you cannot find a printed copy, search the manufacturer’s support site using the full model number.
A quick look can help you decide which instructions to consult. Notice if the machine is front-load or top-load. Check for a dedicated Tub Clean or Clean Washer cycle. See if the detergent drawer or any filter is designed for owner access. Do not pry at a panel, pull out a part, or assume a feature is present because another washer has it. If the guide does not explain access, leave that part alone and contact the manufacturer for model-specific direction.
Also note where you see residue or dampness: around an accessible door seal, in the dispenser area, or on the drum. UTC recommends regularly wiping washer surfaces such as the drum, gasket, lid, and detergent drawer. But the guide for your own machine should control how to clean each area. Do not mix products or add a household cleaner unless the manufacturer explicitly permits it. A product that is safe for one model or component may not be approved for another.
For routine use, follow the detergent package and washer guidance rather than adding extra detergent. The EPA advises using an appropriate amount to avoid extra rinsing. It also recommends leaving the washer door open after use when appropriate so moisture can evaporate, especially for front-load machines. Follow the manual if it gives a different instruction or if the door should not be left open in your setup.
With the model guide in hand, you can clean only the parts your washer is designed to let you reach, using the listed cycle and products. That keeps the next steps specific to the appliance in front of you instead of relying on generic advice.
How to clean a washing machine drum safely
The washer manual is the authority for this job because a cleaning cycle, temperature, and product that suit one model may not be appropriate for another. The University of Tennessee at Chattanooga (UTC) gives a monthly empty hot-water cleaning cycle as general guidance. But it also matters that your own washer’s instructions govern its settings and cleaner. The EPA likewise advises following manufacturer maintenance recommendations. See UTC washer maintenance guidance and EPA home maintenance recommendations.
- Start with an empty drum. Remove all laundry and check that no small items remain inside. A cleaning cycle is intended to run without a load unless your manufacturer states otherwise. Some makers also specify preparation steps before starting, so look those up before adding anything. LG’s published tub-clean instructions, for example, tell users to empty the washer, but those directions apply to the covered models, not every machine: LG’s model-specific tub-cleaning instructions.
- Find the drum-cleaning procedure for your model. Check the Use and Care manual or the manufacturer’s support page for your model number. Look for the named tub or drum cycle, the recommended frequency, and whether there are limits on what may be used. Do not select a cycle just because its name sounds similar. If there is no dedicated cleaning cycle, use only the alternative procedure the manufacturer specifies rather than guessing.
- Confirm the product and dose before use. Use a washer-cleaning product or household cleaner only when the manual permits it, and follow both the appliance instructions and the product label. Check where the cleaner belongs, how much to use, and whether it should go in the drum or a dispenser. Do not assume vinegar, baking soda, bleach, or any other familiar household product is safe for your model. Never combine cleaners or add more than directed. If instructions are missing or unclear, contact the manufacturer before proceeding.
- Run the specified cycle without changing its settings. Follow the model’s directions for cycle selection, temperature, and any timing or button sequence. A hot-water cycle may be part of general guidance from UTC, but do not override your washer’s stated temperature or cycle requirements to match that general recommendation. Keep the drum empty and do not add laundry, extra detergent, or another cleaner partway through.
- Complete only the stated rinse or follow-up. When the cycle finishes, check the manual for a required rinse, wipe, or other next step. Do not run an extra cycle automatically; follow the manufacturer’s directions. If residue or an odor remains, consult model-specific troubleshooting rather than repeating the cleaning with a different product or stronger dose.
- Allow the washer to dry as directed. If your instructions permit, leave the door or lid open after the cycle so moisture can evaporate. The EPA recommends leaving the washer door open after use for this purpose, while manufacturer directions remain the guide for your machine. Close it if the manual or your setting requires that instead.
Before pressing Start, this quick check helps avoid the most common guesses:
- The drum is empty, and the manual’s model-specific cleaning instructions are open.
- The cleaner, amount, placement, cycle, and temperature all match those instructions and the product label.
- You know whether a rinse or drying step is required, and have not combined products.
UTC’s monthly hot-water cycle is a general maintenance suggestion, not a universal schedule or setting. Follow the interval and method specified for your washer, especially if its manual sets different requirements.
How to clean the gasket, detergent drawer, and exterior
With the washer empty and its cleaning cycle complete, turn to the surfaces around the drum. Start with the Use and Care guide for your exact model. It should say which surfaces may be wiped, whether parts can be removed, and what cleaning method is permitted. Keep the work gentle: if a seal, insert, or drawer resists, do not pull harder or reach behind it. Manufacturer examples, including Samsung’s washer cleaning guidance, apply to particular models and are not universal instructions.
Wipe only accessible surfaces of a front-load gasket
On a front-load washer, open the door and inspect the flexible gasket around the opening. Follow the manual’s directions to wipe the visible seal and any folds you can reach comfortably. Move a fold only enough to access its exposed surface; do not stretch, detach. Or pry the gasket, and do not push a cloth or tool deep behind it. Use only the method and cleaner permitted by your manufacturer. If the guide does not specify a cleaner, check the manufacturer’s support for the model rather than guessing.
Work around the accessible circumference, including the lower area if it is within easy reach, and remove loose residue with the cloth as the guide permits. Avoid treating the seal as a removable part. If something is lodged beyond reach, or the gasket looks torn or out of place, stop and seek model-specific support. A top-load washer does not have this same front-door gasket, so there is no equivalent seal to pull open or clean behind. Clean its reachable rim or lid surfaces only as its own instructions allow.
Remove a detergent drawer only when the manual permits it
Detergent or softener residue may be visible in the dispenser, but drawers and inserts differ. Check the manual before attempting removal, and follow its release instructions exactly. Do not force a drawer that will not slide out or try to pry out an insert. Whirlpool’s front-load dispenser instructions show one model-specific approach, including removing designated inserts; use those details only if they match your machine’s instructions.
If the drawer or pieces are approved for removal, clean them only by the method described in the manual. Let them dry as directed, and put every insert back in its correct position before use. For the dispenser housing, wipe only the surfaces you can reach without pouring liquid into the opening. Do not use an unapproved chemical, abrasive pad, or improvised tool. When removal is not permitted, clean the accessible drawer face and surrounding area in place according to the guide.
Wipe the cabinet, controls, and lid with care
Use a soft cloth and the exterior-cleaning method allowed by the manual. Apply cleaner to the cloth only if the instructions permit it; do not spray controls, seams, or openings. Wipe gently, then dry the surfaces if directed. This applies to the top, sides, front panel, and lid, but take particular care around buttons and displays. Leave the door, lid, or drawer open for drying only when the manufacturer recommends it and it can be left safely.
For more ideas on household areas that can be overlooked during routine cleaning, see Clear Choice’s guide to deep cleaning overlooked areas.
When and how to clean a washer filter
A washer may have a drain-pump filter, a lint filter, both, or no filter intended for routine owner cleaning. The design and access point depend on the model. Before looking for one, find the model number and read the owner’s manual or manufacturer support instructions for that exact machine. If the manual does not describe a user-serviceable filter, do not remove panels, pry at a cover, or try to reach internal parts. Contact the manufacturer or a qualified appliance technician instead.
Follow the maker’s directions for timing, electrical safety, draining, tools, and cleaning method. A front-load pump-filter procedure on one model is not a universal washer procedure. For instance, LG’s guidance describes a pump filter for its front-load washers, while GE’s instructions apply to the models covered by that page. Use these only as examples if they match your machine.
- Confirm the filter and procedure. Check the model-specific manual for the filter’s location, whether cleaning is recommended, and how to access it. Do not assume a small panel or slot is a filter door. If access requires removing a cabinet panel, or the directions are unclear, stop and ask the manufacturer for guidance.
- Prepare the washer exactly as directed. Turn the washer off and disconnect power if the manual instructs you to do so. Follow its drain instructions before opening any filter. Some models provide a small drain hose; others specify a different sequence. Do not improvise by loosening a hose or filter to release water. Place a shallow pan and towels only when the manufacturer recommends them, and make sure the pan can be emptied safely if it fills.
- Open the specified access point slowly. Once the washer is powered down and drained as required, use only the cover or access mechanism described in the manual. Some model instructions warn that residual water may escape and direct users to open the filter gradually. Keep your face and hands clear of the water path, and pause to empty the pan as needed. If the cover resists or the water flow is unexpected, do not force it; close it if safe and consult the maker.
- Remove and clean only the identified filter. Follow the manual’s direction for the release or turning motion; the direction can vary. Take out visible lint or debris and rinse or brush the filter only if the manufacturer permits that method. GE, for example, tells owners of the covered models to clear debris and rinse the filter area. While LG’s cited instructions describe warm water and a soft-bristle brush for its pump filter. Do not use a dishwasher, chemicals, sharp tools, or force unless the model instructions specifically allow the method.
- Reinstall it securely and check the access area. Refit the filter in the specified direction, making sure it is seated and secured as the manual describes. Wipe away spilled water and replace the access cover without forcing it. Restore power only after the area is closed and dry, and only if that is consistent with the manufacturer’s instructions.
- Verify the washer is ready to use. Run the manual’s recommended check or cycle, watching for leaks if the instructions call for it. If water leaks, the filter will not seat, or an error remains. Stop using the washer and contact the manufacturer or a qualified technician rather than reopening or dismantling it.
These steps are a safety framework, not a substitute for the instructions supplied with your appliance. The right way to clean a washing machine filter is the method written for its specific model. If your manual does not list routine filter cleaning, leave the filter assembly alone and follow the maintenance it does recommend.
Front-load vs. top-load care and simple upkeep
Both washer styles need regular attention. Clear residue when it appears. Use detergent in the amount specified for your machine and load, and let damp areas dry. Details differ by design, so use your model’s Use and Care guide for parts, access, and cleaning instructions. Do not assume every washer has the same features.
Front-load machines have a door seal with folds that can hold moisture or lint. After a cycle, check the accessible seal area and dry it as the manual allows. Leaving the door open after use can help moisture evaporate; the U.S. Environmental Protection Agency recommends this practice and following the manufacturer’s maintenance guidance, especially for front-load washers. Keep the door open only when it is safe to do so around children and pets, and follow any manufacturer cautions. EPA washer maintenance guidance supports drying and manufacturer-led upkeep.
Top-load washers generally do not have the same front-door gasket, but their dispensers, lids, and lint-catching components still need attention when the model includes them. A lint filter inside the tub is not the same part as a drain-pump filter. Some top-load models have removable lint filters, and the filter shape and removal method can vary. LG’s top-load guidance illustrates cleaning lint filters and dispenser areas, but it is not a universal procedure. Check the manual before removing any part, and do not pry at a filter or dispenser that does not release as described. A pump filter, where provided and designed for owner service, has its own model-specific access and cleaning steps.
| Feature | Front-load washer | Top-load washer |
|---|---|---|
| Door or lid area | May have a front-door gasket. Wipe only accessible surfaces by the manual. | Has a lid and rim rather than the same front-door gasket. Clean accessible areas as directed. |
| Filter access | Some models provide a serviceable drain-pump filter. Confirm exact access instructions. | Some models have a tub lint filter. Shape and removal method vary by model. |
| Drying | Leave door open after use only when the maker recommends it and it is safe. | Leave lid open after use only when the maker recommends it and it is safe. |
Detergent dose matters for both styles. Measure according to the washer and detergent directions, accounting for the load and detergent type, rather than filling by habit. The EPA advises using an appropriate amount to avoid extra rinsing, while the University of Tennessee at Chattanooga advises using only the recommended amount. Too much product can leave residue along with fabric softener, dirt, and moisture. These are practical upkeep points, not a reason to add a cleaner or change the washer’s programmed cycle without checking the manual.
Make drying easy: after use, leave the door or lid open when the manual permits, and wipe up visible water around accessible areas. Don’t force a lid or door beyond its normal position. Fit these small habits into your usual home routine alongside other appliance and surface care, such as this cleaning kitchen appliances and surfaces guide. For another example of model-conscious appliance maintenance, see these safe appliance cleaning steps. If you are cleaning around the laundry area, keep products away from the washer’s controls and openings, and use only cloths or cleaners the machine maker permits.
Ask Clear Choice about home cleaning
Frequently Asked Questions
What cleaner should I use in my washer?
Use the cleaner and amount specified in your washer’s Use and Care guide. Some models call for a dedicated cleaning cycle and an approved washer cleaner; others specify a different method. Follow both the machine instructions and the product label, including where to place the cleaner. Do not substitute a household product just because it is commonly recommended online. If the manual is unavailable, look up the instructions using the washer’s full model number or contact the manufacturer before adding a cleaner.
Can I use vinegar or baking soda to clean it?
Only use vinegar or baking soda if your specific washer manual explicitly allows it, and follow the stated amount and placement. Neither is a universal replacement for a washer cleaner. Avoid mixing cleaning products or adding multiple substances in the same cycle; product combinations can have unexpected effects, and the washer maker’s directions take priority. If the manual does not address a product, choose a method it does approve rather than experimenting.
How often should I run a washer-cleaning cycle?
Check the Use and Care guide for the cycle and schedule recommended for your model. Some general maintenance guidance suggests an empty cleaning cycle monthly, but that is not a universal interval; the washer manufacturer may specify different timing, temperature, or cleaner. Clean visible residue when needed, and do not run extra hot cycles unless the instructions call for them. The right routine depends on your machine and its use.
What should I do if my washer smells musty?
Start with the manual-approved cleaning cycle, then check accessible areas such as the door seal or detergent drawer for residue, following the washer instructions. After use, leave the door or lid open when the manual and household setup allow it so the interior can dry. The EPA also recommends leaving a washer door open after use to let moisture evaporate, particularly for front-load machines (EPA home-maintenance guidance). If the odor remains or you see a problem that cleaning does not resolve, contact the appliance manufacturer or a qualified repair professional.
Is cleaning different for a front-load and a top-load washer?
The basic approach is similar: follow the model’s instructions, use its approved cycle and cleaner, and clean only parts the manual identifies as user-serviceable. A front-loader may have a door gasket and a drain-pump filter. While a top-loader may have different dispensers or a lint filter; not every model has the same parts or access points. Do not pull off a seal, pry open a panel, or remove a filter unless your manual explains how. Afterward, dry accessible surfaces and leave the door or lid open if the manufacturer recommends it.
Need help with the rest of your home?
Keeping up with the rooms and surfaces beyond your washer can take time. Clear Choice Home Cleaning Services provides residential cleaning for homes across North Metro Atlanta, with service tailored to your needs.
For a quote on home cleaning, contact us through the online form.