
How to Clean a Toaster Oven
Published · Clear Choice Home Cleaning Services
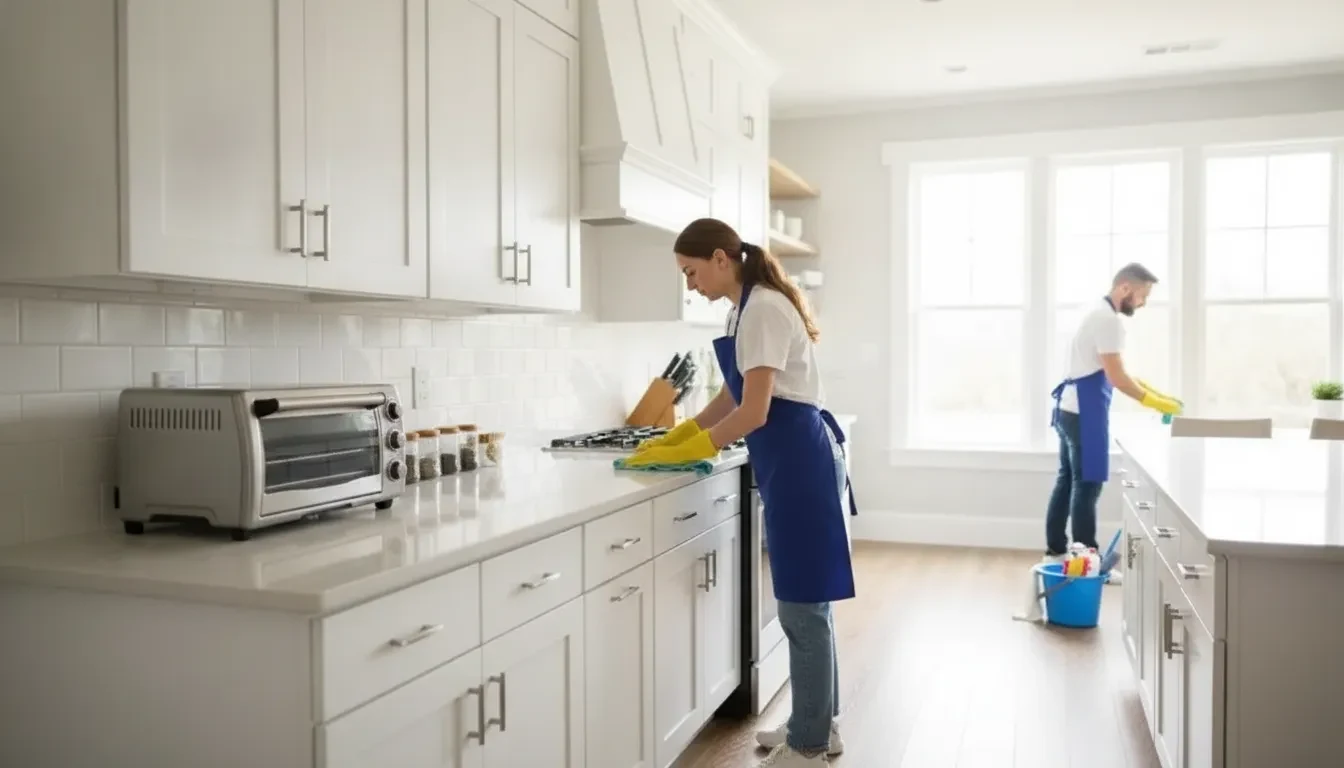
A toaster oven can look clean at a glance while crumbs collect underneath the tray. Grease can also dry onto the walls, rack, or glass. A careful reset starts with safety. Unplug the appliance, let it cool completely, and check the manufacturer’s manual before using water, baking soda, or any cleaner.
To learn how to clean a toaster oven, remove the crumb tray, racks, and other parts designed to come out. Clear loose debris first. Then clean removable pieces gently with warm water and mild dish soap when the manual allows it. Wipe the interior with a barely damp cloth, keep moisture away from heating elements and electrical openings, and let every part dry fully before reassembly.
The right supplies and a little preparation make the process safer and easier. Before tackling baked-on residue or cloudy glass, gather the materials you need and create a stable, uncluttered workspace.
Contact Clear Choice for straightforward home cleaning information
What You Need Before Cleaning a Toaster Oven
Before you gather sprays or start scrubbing, make the appliance safe to handle. Turn the toaster oven off and unplug it. Wait until it is completely cool. Do not rely on the controls alone to tell you whether it is ready. If it was recently used, give the interior, racks, tray, and door enough time to cool before touching them. This preparation is also recommended in the cleaning guidance from Cosmo Appliances.
Check the manual first
Toaster ovens differ in their coatings, heating-element design, removable parts, and cleaning instructions. Read the manufacturer’s manual before applying a product or removing a component. Look for directions about the crumb tray, racks, baking pans, interior surfaces, glass, and any part that should not be soaked. If you no longer have the printed manual, find the model number on the appliance. Then use the manufacturer’s official support page.
When the manual does not approve a particular cleaner or method, choose the more conservative option. Do not treat an appliance like a regular sink-safe dish unless its instructions say that the part can be washed that way.
Set up a stable work area
Move the unplugged, cooled toaster oven to a stable, uncluttered surface. Leave enough room to open the door and set aside the racks and tray. Keep it away from the counter edge. Place a towel underneath removable parts or the appliance if needed. Do not block vents or openings while you clean. Have a dry area ready where washed parts can air-dry fully.
Gather gentle supplies
For a cautious cleaning session, start with warm water, mild dish soap, a microfiber cloth, a soft brush, and a non-scratch sponge. These supplies are usually enough for loose crumbs, light residue, and exterior fingerprints. Keep a dry cloth nearby for wiping moisture from approved surfaces. Baking soda may help with stubborn residue. Use it only when the manufacturer’s instructions allow it and the surface is compatible.
Do not use abrasive pads, sharp tools, or unapproved oven cleaner. Avoid spraying liquid directly into the toaster oven. Never apply cleaner to heating elements, controls, vents, or electrical openings unless the manual specifically directs you to do so. Never mix cleaning products. If a part is difficult to remove or the surface is damaged, stop and check the manual rather than forcing it.
| Area | Safer starting method | Avoid |
|---|---|---|
| Crumb tray and racks | Remove as directed. | Forcing parts. |
| Interior walls | Dry debris first. | Spraying into the cavity. |
| Heating elements | Follow the manual. | Liquid or abrasive scrubbing. |
| Glass and exterior | Use an approved soft cloth. | Scouring pads or blades. |
How to Clean the Removable Parts
- Check how each part is designed to come out. With the toaster oven unplugged and fully cool, remove the crumb tray, cooking racks, and any baking or broiling trays according to the manufacturer’s instructions. Do not force a rack or tray that catches. Some models use rails, stops, or a separate hinged crumb tray, so the manual is the best guide for avoiding damage.
- Clear away loose crumbs first. Hold the removable pieces over a trash can or sink and gently shake or brush off dry crumbs. A soft brush or dry microfiber cloth can help lift particles from corners and rack joints. Empty the crumb tray before wiping it so crumbs do not turn into a wet paste that is harder to remove.
- Separate parts that can be washed. Read the care instructions before putting anything in water. If the manual allows soaking or hand-washing, place the approved parts in warm water with a small amount of mild dish soap. Let stuck-on residue soften rather than trying to remove it by force. If a part is labeled hand-wash only, do not put it in a dishwasher, even if it appears sturdy.
- Clean gently with a suitable tool. Use a non-scratch sponge, soft cloth, or soft brush to loosen food residue from racks and trays. Work along the surface instead of scraping aggressively. Avoid steel wool, sharp blades, abrasive powders, and harsh chemicals unless the manufacturer specifically approves them. These can scratch a tray or damage a coating, making future cleanup more difficult.
- Rinse only when the care instructions permit it. For washable parts, rinse away soap and loosened residue with clean water. Keep any component that is not water-safe dry, and do not submerge parts with electrical connections or other features the manual identifies as sensitive. When in doubt, use a lightly damp cloth and follow the appliance-specific instructions.
- Dry every piece completely. Place the cleaned crumb tray, racks, and trays on a clean towel and allow them to air-dry fully. Wipe away remaining moisture from seams and corners. Do not return damp parts to the toaster oven, since moisture can remain trapped where you cannot see it. This same careful approach applies to safe kitchen appliance cleaning throughout the rest of the kitchen.
- Inspect and set the parts aside. Before reassembly, check that each piece is free of crumbs, soap, and moisture. Look for warped trays, loose rack wires, or damage that could affect the fit. If a part no longer slides, rests, or closes as intended, pause and consult the manual rather than forcing it back into place.
How to Clean a Toaster Oven Interior Safely
Before wiping the inside, unplug the toaster oven and wait until it is completely cool. Check the owner’s manual first, because interior coatings, heating elements, racks, and cleaning restrictions vary by model. If the manual gives a specific cleaning method, product, or list of prohibited materials, follow it instead of applying a general approach.
Start with dry debris
Remove the crumb tray, racks, and other parts only if the design allows it. With the appliance still unplugged and positioned securely, gently brush or tip loose crumbs toward the opening or tray. A soft, dry brush can help lift debris from corners and seams. Work slowly rather than shaking or turning the appliance aggressively, which can move crumbs into areas that are difficult to reach.
Do not begin with a wet sponge. Dry removal clears loose food particles without spreading them into a paste or pushing them toward electrical openings. It also makes it easier to see where residue remains. Never use a vacuum attachment unless the manufacturer specifically permits it, since contact with delicate components may cause damage.
Use minimal moisture on safe surfaces
For accessible interior walls and other surfaces the manual identifies as cleanable, use a barely damp microfiber cloth. The cloth should be damp enough to loosen light residue, not wet enough to drip. Wipe gently, rinse or replace the cloth as needed, and keep the appliance stationary while you work. For a stubborn spot, allow a little moisture to sit briefly, then lift the residue with a soft, non-scratch sponge if the manual permits that material.
Keep water, spray cleaner, and cleaning solutions away from the heating elements, vents, controls. Seams, electrical openings, and any area that is not clearly designated as a cleanable surface. Do not spray directly into the cavity. Avoid knives, metal scrapers, abrasive pads, and forceful scraping, which can damage a coating or heating component. Do not clean the heating elements unless the manual provides instructions for doing so. In many models, they should be left alone except for careful dry-debris removal when specifically allowed.
Let the interior dry completely
After wiping, leave the door open and allow all accessible surfaces to dry fully. Do not reconnect or operate the toaster oven while moisture remains inside. Reinstall the crumb tray and racks only after they are clean and dry, and check the manual before using the appliance again. For related guidance on safe appliance cleaning steps, use the same principle: limit moisture, protect openings, and follow the manufacturer’s instructions.
How to Remove Baked-On Grease and Glass Stains
Baked-on grease usually needs time more than force. After the toaster oven is unplugged and completely cool, place a cloth dampened with warm water over the affected area. Let it sit for several minutes so the residue can soften, then wipe gently with a microfiber cloth or a non-scratch sponge. You may need to repeat the process rather than trying to remove everything in one pass.
For stubborn spots, a small amount of baking soda mixed with water can form a mild paste. But use it only if the manufacturer’s manual permits it and the surface is compatible. Apply it to the residue, not to heating elements, vents, controls, or electrical openings. Allow the paste to dwell briefly, then remove it with a clean, barely damp cloth. Do not leave moisture behind, and do not use the paste on surfaces that the manual says to treat differently.
Diluted vinegar may help with some residue or cloudy marks, but it is not suitable for every finish. Check the manual and the surface manufacturer’s guidance before using it. Never mix vinegar with bleach, ammonia, commercial cleaners, or any other cleaning product. Mixing cleaners can create hazardous fumes, even when each product seems mild on its own.
Use gentle tools on the glass door
Brown or cloudy glass stains can also respond to a warm, damp cloth and several minutes of dwell time. Work in small sections with light pressure. A soft cloth or non-scratch sponge is a safer choice than a razor, steel wool, scouring powder, or abrasive pad, which can mark glass or damage a coating. If residue remains, repeat the gentle treatment instead of scraping harder.
Do not heat the appliance to loosen grease. Heating a dirty toaster oven can create smoke, worsen residue, or expose nearby parts to unnecessary heat. Keep the appliance unplugged while you clean, and use only the methods allowed by its manual. For a broader sequence that includes counters, appliances, sinks, and floors, see this guide to safe kitchen appliance cleaning.
How to Finish the Exterior and Reassemble
Once the interior and removable parts are clean, finish the job by wiping the outside of the toaster oven. Use a soft cloth that is lightly damp, not wet, and follow the manufacturer’s instructions for the appliance’s exterior materials. Wipe the door frame, handle, sides, top, and control area carefully. Keep moisture away from buttons, switches, vents, seams, and any electrical openings. Do not spray cleaner directly onto the appliance.
For fingerprints or light grease, a small amount of mild dish soap diluted in water may be enough if the manual allows it. Use a separate clean, damp cloth to remove residue, then dry the surfaces with a microfiber towel. Avoid abrasive pads, scouring powders, and aggressive scraping that could scratch the finish or damage labels and controls. For broader kitchen upkeep, see this guide to deep cleaning tasks around the home.
Check the door, rack, and tray before use
Inspect the door and its surrounding seal for visible crumbs, grease, or other debris. The seal and door should sit as the manual describes, and the door should close without unusual resistance. Check that racks, pans, and the crumb tray are positioned in their intended tracks or supports. If a part does not fit correctly, do not force it or improvise a repair. Remove the appliance from use and consult the manufacturer’s manual or an appropriately qualified service professional for model-specific guidance.
Let every cleaned part and surface dry completely before putting the toaster oven back together. This includes the crumb tray, racks, pans, interior surfaces, door area, and any other removable component. Reassemble only in the order and orientation described by the manual. A dry cloth can remove remaining moisture, but do not turn on the appliance simply to speed up drying.
Take a cautious first-use approach
Before the first use, confirm that the appliance is unplugged while you make the final fit check, then follow the manual’s instructions for returning it to service. If the manual recommends a particular first-use procedure, use that procedure rather than relying on a generic test. Stay nearby during the first heating cycle and stop if you notice unusual smoke, odor, noise, sparking, or a door that does not close properly. Unplug the appliance when safe to do so and consult the manufacturer if anything seems abnormal.
Afterward, empty loose crumbs regularly and wipe small spills once the oven has cooled. Consistent light maintenance makes the next full cleaning simpler without replacing the need to follow model-specific instructions.
Request information about home cleaning from Clear Choice.
Frequently Asked Questions
How do you get baked grease out of a toaster oven?
Unplug the toaster oven and let it cool completely. Remove loose crumbs first, then use a soft cloth or non-scratch sponge lightly dampened with warm water and mild dish soap. For stubborn residue, let a compatible cleaning solution or baking-soda paste sit briefly before wiping gently. Use these products only if the manufacturer’s manual permits them, and never mix cleaners. Keep moisture away from heating elements, vents, controls, and electrical openings.
Are there any parts of a toaster oven you should not clean?
Do not immerse the toaster oven body, heating elements, controls, vents, or electrical components in water. Remove and wash only racks, trays, and crumb trays that the design allows you to remove. Follow the manual for approved products and cleaning methods, because coatings and removable parts vary by model. Dry every part fully before putting it back.
How do I safely clean the heating elements in my toaster oven?
Start by unplugging the appliance and allowing it to cool. In many models, heating elements should be left in place and handled very gently. Remove loose crumbs with a soft, dry brush or cloth if the manual allows it. Do not spray cleaner directly on an element, scrub aggressively, bend it, or apply liquid nearby. If the manual does not explain how to clean the elements, leave them alone and contact the manufacturer for model-specific guidance.
How do I get brown stains off my glass oven door?
Wipe the cooled glass with warm water and mild dish soap using a soft, non-scratch cloth. For persistent stains, allow an approved cleaner or gentle paste to dwell briefly, then wipe without abrasive pads or sharp tools. Check the manual before using baking soda, vinegar, or any specialty product, and keep liquid from entering door openings. Dry the glass to check your progress without leaving streaks.
Keep the Rest of Your Home Cleaning on Track
A clean toaster oven is one useful part of a well-kept kitchen. For broader home cleaning needs, Clear Choice Home Cleaning Services provides straightforward information about standard and deep cleaning for homes in Alpharetta and North Metro Atlanta. Service details and scope can vary, so reach out with your questions and request a quote for the work you need.