
How to Clean Wood Furniture Without Damaging It
Published · Clear Choice Home Cleaning Services
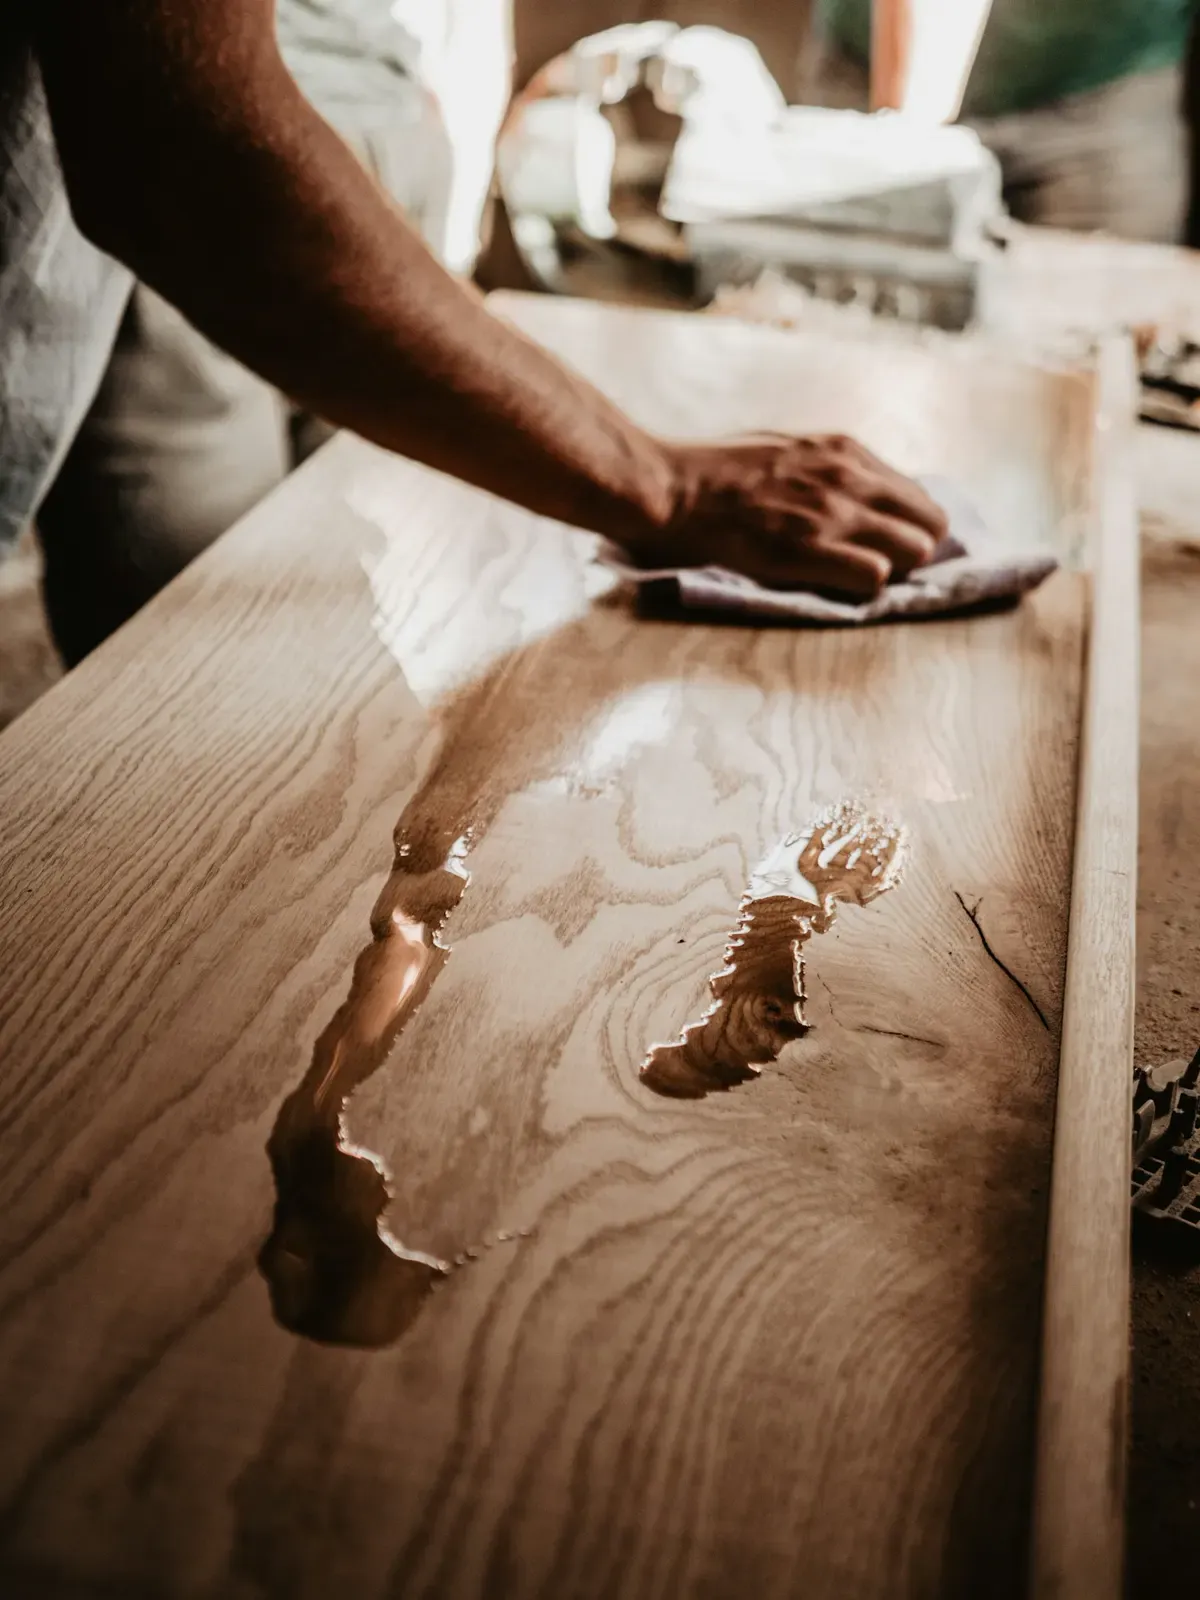
Knowing how to clean wood furniture starts with using less moisture, less pressure, and the right method for the finish. A soft cloth and regular dusting handle most routine soil. A barely damp cloth can lift fingerprints or a fresh spill, but soaking the surface can swell joints, cloud a finish, or leave rings. Before using any cleaner, check the care label or maker’s instructions and test the method in a hidden spot.
Keep your whole home feeling fresh with Clear Choice standard cleaning service.
This guide explains a safe routine for finished, painted, veneered, waxed, and oiled wood pieces. It focuses on normal household dust, fingerprints, food residue, and small spills. It does not cover refinishing, deep scratches, water damage, mold, or antique restoration. Those problems may need a conservator, furniture specialist, or other professional who can identify the material and finish first.
What to Check Before You Clean Wood Furniture
Wood furniture is not one uniform surface. A sealed dining table, a waxed antique, a painted nightstand, and a wood-look laminate cabinet can react very differently to the same product. Start by identifying what you can. Look for a care card, a label under the piece, or instructions from the manufacturer. If the furniture is rented, inherited, antique, heavily distressed, or valuable, take a conservative approach and avoid experimenting with household remedies.
Inspect the surface in good light. Note whether it is glossy, satin, matte, painted, unfinished, waxy, or visibly oily. Check for loose veneer, lifted edges, open cracks, worn-through finish, or areas that already look cloudy. Do not scrub over peeling finish or loose veneer. Cleaning will not repair that condition and may make it worse.
Also consider what is on the surface. Dry dust needs a different approach from a greasy fingerprint. A fresh water spill needs prompt blotting. Old adhesive, ink, polish buildup, and white heat or water marks can be more than routine soil. Treating those marks aggressively can remove color or finish, so pause when the cause is unclear.
Finished, painted, and veneered surfaces
Most everyday wood furniture has a protective finish. The finish may be varnish, lacquer, polyurethane, shellac, paint, or another coating. Your goal is to clean the coating without flooding its seams or scratching it. Veneer is a thin layer of wood over another material, so water can be especially risky around edges, seams, and damaged areas.
Painted furniture still needs gentle care. A finish that looks solid can be thin or chalky, especially on older pieces. Decorative distressing may be intentional, so do not use a melamine sponge or abrasive pad to make a mark disappear. If the care instructions allow damp cleaning, use a nearly dry cloth and stop if color transfers to the cloth.
Waxed, oiled, and unfinished wood
Waxed and oiled pieces may feel softer or less glossy than sealed furniture. They can show fingerprints and absorb moisture more readily. Unfinished wood has little or no barrier between the surface and the material below. Avoid treating these pieces like a sealed table. Use the maker’s care directions, keep moisture minimal, and do not add oil, wax, or polish simply because the wood looks dry.
Do not assume that a “natural” product is automatically safe. Vinegar, lemon juice, baking soda, essential oils, and homemade polish can alter sheen, leave residue, or react with a finish. A product made for one type of wood or coating may be wrong for another.
How to Clean Wood Furniture Safely, Step by Step
Use this sequence for routine cleaning when the furniture is in stable condition and the manufacturer has not given different directions. Work from the least aggressive method to the most targeted one. Keep your cloths clean so grit does not drag across the finish.
- Clear the surface. Remove lamps, books, dishes, plants, and decorative items. Lift objects rather than sliding them. This exposes the full surface and prevents trapped dust from becoming a source of scratches.
- Read the care information. Check the manufacturer’s instructions and any warnings about water, polish, solvents, or heat. If no guidance is available, begin with dry dusting and avoid adding a product until you have tested it.
- Remove loose dust. Use a clean, soft microfiber cloth or a soft brush attachment on a vacuum. Move with the grain and use light strokes. Shake or replace the cloth when it becomes gritty instead of pushing the same dust around.
- Prepare a barely damp cloth only when needed. If fingerprints or a fresh spill remain, dampen a cloth with clean water and wring it almost dry. The cloth should feel slightly cool, not wet enough to leave a trail. Never spray liquid directly on the furniture.
- Wipe a small section. Follow the direction of the grain with gentle, overlapping passes. Do not scrub in circles. Turn to a dry portion of the cloth as soil lifts, and keep liquid away from joints, hardware openings, veneer edges, and cracks.
- Dry as you go. Follow immediately with a separate soft, dry cloth. Look for moisture along corners and underneath lips or rails. A short drying step helps prevent dull patches and swelling around seams.
- Spot-test any approved cleaner. If the care instructions call for a wood-safe cleaner, apply a small amount to the cloth, not the surface. Test behind a leg or in another hidden area. Wait for the area to dry and compare its color and sheen before cleaning a visible section.
- Replace objects carefully. Make sure the surface is dry before putting items back. Add felt pads under décor that moves often, and lift heavy items rather than dragging them.
For a large cabinet, table, or set of chairs, clean one manageable section at a time. This makes it easier to control moisture and notice a change in sheen early. If the cloth picks up finish color, the surface turns cloudy, or a sticky film spreads, stop and reassess instead of applying more product.
Choosing the Right Cloth and Cleaning Product
The safest everyday tool is a clean, soft, lint-free cloth. Microfiber works well for dry dust and light damp wiping. A soft cotton cloth can also work if it has no rough seams, buttons, or trapped grit. Keep separate cloths for dusting, damp wiping, and drying. Wash them without fabric softener when possible, because softener can leave a film that attracts dust.
A vacuum with a soft brush can remove dust from carvings, drawer tracks, chair spindles, and trim. Keep the plastic nozzle or hard edge from rubbing against the finish. For grooves, use a soft artist’s brush or another clean, gentle brush. Do not use a feather duster that simply sends dust into the room if the piece has detailed crevices.
| Surface or soil. | Start with. | Use caution with. |
|---|---|---|
| Loose dust. | Dry microfiber cloth or soft brush. | Rough cloths, paper towels, and gritty dust. |
| Fingerprints on a sealed finish. | Barely damp cloth, followed by drying. | Spraying water or cleaner directly on the piece. |
| Fresh food or drink spill. | Blot promptly, then use a barely damp cloth if allowed. | Letting liquid sit in seams or under edges. |
| Painted or distressed furniture. | Dry dusting and a hidden-spot test. | Abrasive pads, melamine sponges, and hard scrubbing. |
| Waxed, oiled, or unfinished wood. | Care instructions and minimal moisture. | Generic polish, vinegar, soaking, or unapproved oil. |
| Unknown sticky buildup. | Pause and identify the finish and residue. | Solvents, scraping, and repeated rubbing. |
Read the label on any commercial product. “Wood cleaner” is not a single finish category, and some products contain oils or solvents that can leave a film or change the appearance. For general household hygiene, the CDC explains when and how to clean and disinfect a home; furniture-specific care instructions still control. Never mix cleaners. Avoid bleach, ammonia, abrasive powders, scouring pads, and strong degreasers unless the furniture manufacturer specifically directs their use.
How to Handle Common Wood Furniture Problems
Dust and dull-looking surfaces
Dust can make a finish look dull even when the surface is healthy. Start with a dry cloth and gentle strokes. If a film remains, check whether it is product buildup rather than ordinary dust. Adding more polish can compound the film. Follow the manufacturer’s directions or ask a furniture professional before trying to remove old residue.
Fingerprints and light grease
Use a dry cloth first. For a sealed finish, a barely damp cloth may lift a fresh fingerprint, but dry the area immediately. Kitchen cabinets and dining tables may collect more grease than a bedroom dresser. If a barely damp cloth does not remove the residue, stop before escalating to a strong degreaser. The finish may need a product chosen for that specific coating.
Water rings and white marks
A pale ring can come from moisture trapped in or beneath a finish, while a dark mark may indicate damage to the wood itself. Do not scrub, sand, heat, or apply mayonnaise, toothpaste, oil, or another internet remedy without knowing the finish. These approaches can spread the problem or create a new stain. For a valuable or older piece, document the mark and seek a qualified furniture specialist.
Sticky residue
Sticky spots may be food, tape adhesive, old polish, wax, or a finish that is breaking down. Blot loose material and identify the source if possible. Avoid scraping with a knife or plastic card when the finish is unknown. A solvent that dissolves adhesive may also soften lacquer or lift paint.
Cracks, peeling, and loose veneer
Do not wet-clean damaged areas. Keep liquid away from openings, and do not press loose veneer flat while wiping. Routine cleaning cannot correct structural or finish problems. A furniture repair professional can advise whether the piece needs stabilization, cleaning, or refinishing.
Finish-Safe Habits That Protect Wood Furniture
Good maintenance reduces the need for aggressive cleaning. For help with routine room-by-room upkeep, review Clear Choice house cleaning service options. Dust lightly each week, or more often in rooms with open windows, pets, construction dust, or heavy activity. Wipe spills when they happen. Use coasters under drinks and mats under items that may leak or scratch. Keep furniture out of direct heat and strong sun when possible, since temperature and light can affect wood and finishes over time.
Lift objects instead of dragging them. Add felt pads to décor and chair feet, but check them regularly for trapped grit. Do not place hot dishes directly on a wood surface, even if the finish looks durable. Avoid covering a damp table with a cloth or setting a wet vase directly on it. Small prevention steps protect the finish better than frequent polishing.
Build a simple cleaning schedule. Dust visible surfaces weekly, check high-touch areas during regular home cleaning, and inspect seams, drawer pulls, and table edges for residue. Clean only as much as the surface needs. Overcleaning can expose a finish to unnecessary moisture and friction.
When to Stop and Ask for Help
Stop cleaning when the finish changes, the cloth picks up color, a patch becomes cloudy, or a surface feels tackier after wiping. Also stop if a spill has reached a seam, the wood has swollen, veneer is lifting, or a mark appears dark and deep. Take a photo, note what product or moisture touched the area, and keep the piece away from additional water until you have advice.
Routine house cleaning services can help with surrounding dust, floors, counters, and other household surfaces. Clear Choice also offers deep-clean service for broader home-cleaning needs, while specialty furniture repair and restoration are different services. Be clear about the condition of the piece and the result you need. A professional cleaner should be able to explain what is within a normal cleaning scope and when a finish specialist is more appropriate.
Frequently Asked Questions
Can I use vinegar to clean wood furniture?
Do not use vinegar by default. It is acidic and may affect some finishes, leave a film, or create a dull spot when used with the wrong surface. Follow the furniture maker’s care instructions instead. For routine dust and fingerprints, start with a soft dry cloth or a barely damp cloth on a known sealed finish.
How wet should a cloth be for wood furniture?
For a surface that allows damp cleaning, the cloth should be barely damp and thoroughly wrung out. It should not drip or leave a visible trail. Work in a small area, keep moisture away from seams and edges, and dry the surface immediately with a second soft cloth.
What is the safest way to clean antique wood furniture?
Use the least invasive method and avoid guessing about the finish. Dry dusting is a sensible starting point, but antiques can have fragile coatings, wax, veneer, or historical value. Do not use polish, water, heat, solvents, or abrasive tools unless the care instructions or a qualified conservator support that method.
How often should I clean wood furniture?
Dust as needed, often weekly in active rooms, and wipe spills promptly. A deeper damp clean is only needed when the surface has soil that dry dusting cannot remove and the finish permits it. Cleaning more often or using more product does not automatically protect the furniture.
Should I polish wood furniture after cleaning?
Only use polish if the manufacturer recommends it for the finish. Many modern finishes need simple dusting and occasional careful wiping, while repeated polish can create buildup or make the surface slippery. Test any approved product in a hidden spot and follow its label.
The Safe Routine in Brief
When learning how to clean wood furniture, remember the order: identify the finish, remove dust, use minimal moisture, test products, wipe with the grain, and dry immediately. Treat unknown marks and damaged areas as a reason to pause, not as an invitation to scrub harder. That careful routine keeps everyday furniture clean while reducing the risk of rings, haze, swelling, scratches, and finish loss.