
How to Clean a Grill Safely: Grates and Grease
Published · Clear Choice Home Cleaning Services
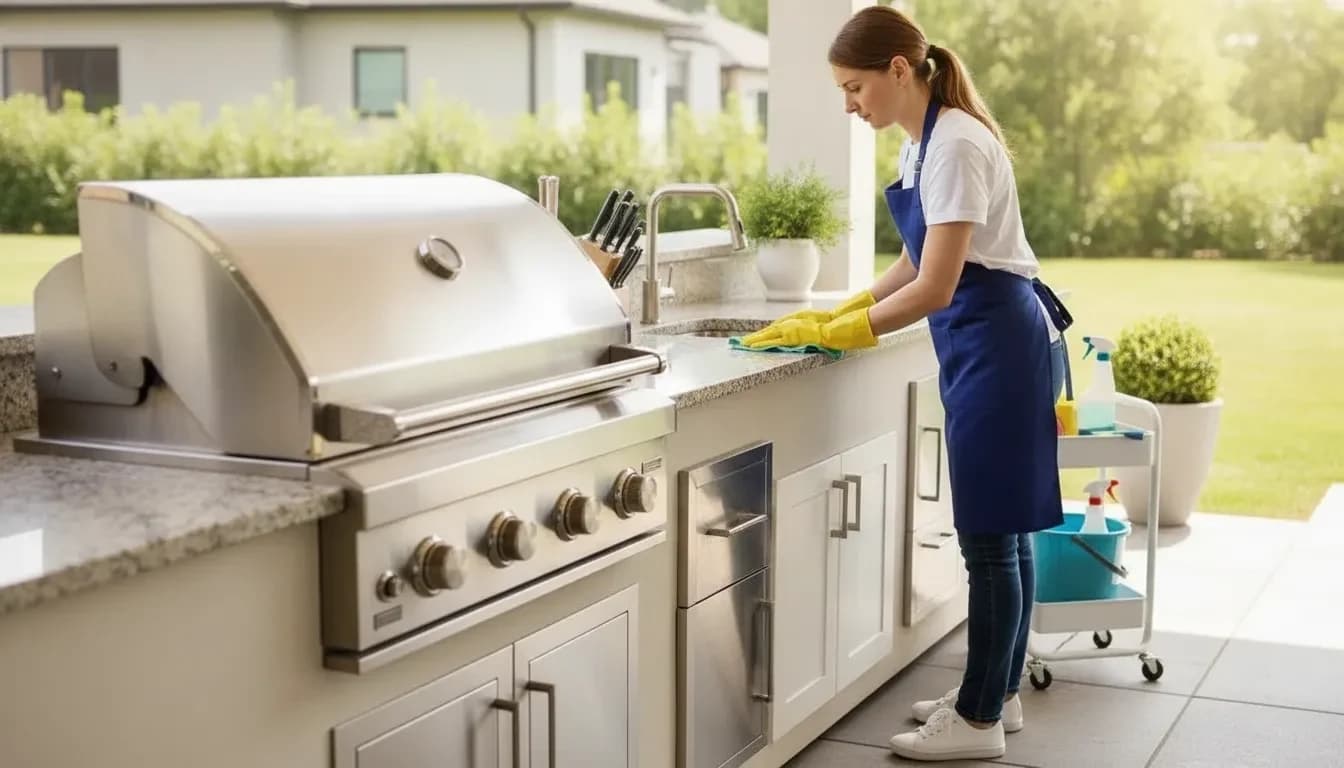
A grill is easiest to maintain when you treat it like a cooking surface, not just an outdoor appliance. Remove loose residue, address grease before it hardens, and give every part time to cool before you begin. The owner’s manual should guide any model-specific steps, especially around burners, coatings, removable parts, and cleaning products.
Request a quote from Clear Choice for applicable residential cleaning needs
To learn how to clean a grill safely, start with the manufacturer’s instructions. Work from the grates and grease trays to the interior and exterior. Use suitable tools and mild cleaners. Avoid unsafe disassembly, and stop when a task involves gas connections, repairs, or hazardous buildup.
With those limits in place, the first priority is creating a safe workspace before any scrubbing begins.
Safety comes before scrubbing
Before you focus on how to clean a grill, make the grill safe to handle. Cleaning should happen before the next cook, not while the unit is hot, connected to an active fuel source, or holding material that could flare up. Each model has different parts, coatings, and restrictions, so treat the owner’s manual as the final authority for your grill.
- Let the grill cool completely. Do not begin until cooking surfaces, burners, ash, and grease are cool. Turn the grill off, and follow the manufacturer’s instructions for shutting off or disconnecting the fuel supply. If you smell gas, see damaged components, or suspect a leak, stop and contact a qualified technician instead of continuing with cleaning.
- Protect your hands and work area. Wear sturdy gloves when handling grates, old charcoal, ash, or greasy residue. Remove grates only as far as the manual permits, and place them on a stable, protected surface. Avoid stirring dry ash into the air. The Alabama Extension grill-cleaning guidance recommends gloves for removing old charcoal ashes and warns against burning old ashes as a cleaning method.
- Handle charcoal ash without making a fire. Never burn old ash to try to clean the grill. Burning it can make cleanup harder and may release harmful chemicals or irritants. Remove the ash carefully according to the grill’s instructions, then clean the charcoal area with clean, hot, soapy water only after the ash has been removed.
- Check the brush before using it. A new, clean grill brush can remove food debris, but worn metal bristles or loose brush fragments can remain on a grate and transfer to food. Inspect the tool first. If the manual permits it, a wood scraper may be a safer alternative. For porcelain grates, consult the manual before scrubbing. Without model guidance, avoid stainless steel on the porcelain surface, and test an uncertain method on a small, inconspicuous area.
- Use only approved cleaners. Do not reach for oven cleaner or bleach cleaner on the grill lid or cooking area. These chemicals may damage the grill and contaminate food. Follow the manual’s product restrictions, rinse surfaces as directed, and do not mix cleaning chemicals.
Clear Choice can help with applicable household cleaning, but a residential cleaning visit does not include grill disassembly. Grill repair, gas-line work, or guaranteed removal of hazardous grease or fire-risk conditions. If the job involves those hazards, pause and use a qualified appliance or gas professional.
How to clean a grill grates without damaging them
Before choosing a scrubber, identify what your grates are made of and check the grill manufacturer’s instructions. Porcelain-coated grates need especially careful treatment. If the manual is unavailable, avoid using a stainless steel scrubber on porcelain, and test any uncertain method on a small, less visible area first. That simple check can prevent a cleaning session from turning into chipped coating or exposed metal. Alabama Extension’s grill-cleaning guidance recommends following the owner’s manual for porcelain grates.
For bare metal grates with ordinary food residue, a strong-bristle brush can loosen debris. Inspect the brush before using it, though. A new, clean brush is less likely to leave metal or brush debris behind, which can end up in food. If you prefer to avoid wire bristles, a wood scraper is a practical alternative. A curly steel scour pad or a ball of aluminum foil held with long tongs can also provide scrubbing action without relying on a traditional wire grill brush.
- Start with the grates removed from a completely cool grill.
- Scrape away loose food and carbonized residue using the tool appropriate for the grate material.
- If buildup remains, place the grates in a large tub and soak them before scrubbing again.
- For a compatible grate and finish, a 2:1 mixture of vinegar and water may be used for the soak. Confirm that approach against the manual first.
- Rinse thoroughly with clean water so loosened residue and cleaning solution do not remain on the cooking surface.
Dry every part of the grates completely before putting them back. Towel-drying helps remove surface moisture, while additional air-drying gives water time to leave joints and recessed areas. Do not rush this step, especially with metal grates, because lingering moisture can contribute to rust.
Once clean and dry, re-season grates that are designed for it. Use a brush or paper towel to coat the interior and both sides with your chosen cooking oil or fat, following the manufacturer’s directions for the grate finish. Avoid treating a porcelain surface as though it were bare cast iron. The goal is a clean cooking surface with its protective finish intact, not the most aggressive scrub possible. Add this task to your seasonal cleaning checklist when preparing the grill for a new season.
Clean the grease tray and interior buildup
Once the grates are out, inspect the lower part of the grill before wiping anything down. Grease, drippings, ash, and carbonized residue can collect around the cookbox, grease tray, and drip pan. Routine maintenance includes scraping the grates, cleaning the grease trap, and dumping ash when applicable. Periodic interior scrubbing gives the grill a more thorough reset than a quick wipe after cooking. Wirecutter’s grill-cleaning guidance also separates the routine grease and ash tasks from deeper interior cleaning.
Start with the grease tray and drip pan
Use a spatula or putty knife to move excessive grease from the bottom of the grill into the bottom tray. Work slowly so you do not spread residue onto the burner area or surrounding surfaces. Remove and clean the bottom tray and drip tray according to the grill manufacturer’s instructions. If either tray is heavily coated, keep the residue contained rather than rinsing a large amount of grease into a household drain.
After scraping, wipe the accessible surfaces with a suitable cleaning solution and a clean cloth. Follow the owner’s manual for any removable liners, disposable pans, or coating restrictions. The manual matters because grills differ in construction, and a method that is appropriate for one model may damage another.
Approach the cookbox and burner tubes carefully
Scrape loose interior buildup from the cookbox, then wipe the reachable areas. For charcoal grills, remove the ashes first. The charcoal area can then be cleaned with clean hot, soapy water. Do not burn old ashes as a shortcut. That can release harmful chemicals and create respiratory concerns if the material is inhaled. Let cleaned surfaces dry fully before replacing components.
If the owner’s manual permits cleaning around gas burner tubes, use care. Brush burner tubes sideways, not lengthways, so debris is not pushed from one opening to the next. Do not poke blocked openings, bend tubes, disconnect gas parts, or remove components that the manual does not identify as user-serviceable. If the burner assembly, ignition system, or gas connection needs repair, stop and contact a qualified technician. Cleaning guidance should not become an attempt at appliance or gas-line work.
Reinstall only the parts you can identify and replace correctly. A clean tray is useful only when it is seated properly and the grill’s components remain in their intended positions. For broader household buildup beyond the appliance itself, see Clear Choice’s deep cleaning guidance.
How to clean a grill exterior and lid
Once the grill is cool and the cooking surfaces are handled, give the lid and exterior a careful wipe-down. Start with warm soapy water, working over the hood, handles, side shelves, and other accessible surfaces. Rinse away soap residue with a clean, damp cloth rather than leaving cleaner behind. This simple approach is usually enough for routine dirt and helps keep the outside ready for the next cook.
Pay close attention to the underside of the lid. Deposits that look like peeling paint may actually be carbonized grease, a hardened layer created by repeated cooking. Do not assume the lid coating is failing or begin scraping aggressively. A stainless steel grill brush can remove this buildup when the manufacturer’s instructions allow it. Brush carefully, then wash the area with warm soapy water and rinse it well. If your grill has a different lid material or finish, check the owner’s manual before using an abrasive tool.
Use the right care for stainless steel
Stainless steel needs a light touch. If the grill has a stainless steel side burner, a mild stainless steel cleaner may be appropriate for that surface. Apply it only as directed for the product and the grill finish. Use a non-lint cloth to clean and polish, wiping in the direction of the grain when the surface has a visible grain. Avoid rough pads that can leave scratches, and do not let cleaner collect around controls, openings, or areas where it could contact food.
Skip oven cleaner and bleach cleaner on the lid. Extension guidance warns that these added chemicals can damage the grill and may contaminate food prepared on it. When a stronger product seems necessary, pause and verify the approved method in the manual instead of combining chemicals or trying an improvised degreaser.
After washing, dry the exterior with a clean cloth and look for remaining grease around seams and handles. A clean kitchen often makes grill cleanup easier too, especially when food preparation and serving happen nearby. For practical guidance on cleaning surrounding kitchen surfaces, use a method that matches each material rather than applying one product everywhere. Sources: Iowa State University Extension grill-cleaning guidance and Alabama Extension food-safety guidance.
Gas, charcoal, and porcelain grates need different care
Learning how to clean a grill starts with identifying what you are cleaning. A gas grill, a charcoal grill, and a grill with porcelain-coated grates may require different tools and precautions. The safest baseline is to let the grill cool fully, follow the owner’s manual. And avoid assuming that a method suitable for bare metal is safe for a coated surface. As Alabama Extension notes, each grill is different and needs different care.
| Grill or grate type | Primary care focus | Safer starting point |
|---|---|---|
| Gas grill | Use the model’s instructions for removable parts and cleaning steps. | Begin with a cool grill and use only methods approved in the owner’s manual. |
| Charcoal grill | Remove old ashes rather than trying to burn them away. | Wear gloves, remove the grates, dispose of ashes safely, then wash the charcoal area with clean hot, soapy water. |
| Porcelain grates | Protect the coating from an unsuitable scrubber or aggressive technique. | Read the manual first. If it is unavailable, avoid stainless steel and test an inconspicuous area. |
Charcoal maintenance has one distinction that should not be skipped. Put on gloves before removing old ashes and setting the grates aside. Do not burn those ashes as a shortcut. That can make the grill harder to clean and may release harmful chemicals or respiratory irritants if the smoke is inhaled. After the ashes are removed, clean the charcoal area with clean hot, soapy water. Alabama Extension also recommends cleaning a charcoal grill after each use and removing ashes often to help lengthen its service life.
Porcelain requires a lighter touch than an uncoated grate. Consult the owner’s manual for the correct cleaning instructions. If you cannot find it, avoid stainless steel on the porcelain surface. When the right method is uncertain, test it on a small, inconspicuous area first. This matters even when a brush or scraper works well elsewhere on the grill. A method that removes stubborn buildup from one material can disturb or damage a coating on another.
Finally, do not use oven cleaner or bleach cleaner on the grill lid or cooking equipment. Alabama Extension warns that these chemicals can damage the grill and contaminate food prepared on it. Keep the cleaning method matched to the grill’s construction, not just the amount of buildup.
See Alabama Extension’s grill-cleaning safety guidance.
How often should you clean a grill?
A practical schedule has three layers: a quick cleanup after every cook. A more thorough interior cleaning periodically, and a seasonal reset before the grill returns to regular use. Regular maintenance can help a grill work for a longer period and may support more even cooking. Alabama Extension recommends cleaning after each use and removing ashes often, while other guidance emphasizes cleaning before firing up the grill for a safe, clean meal.
After every use
Once cooking is finished and the grill is safe to handle, scrape food residue from the grates. Clear the grease trap when needed, and dump charcoal ash regularly rather than allowing it to accumulate. If you use charcoal, never burn old ashes as a shortcut. Burning them can release harmful chemicals and create respiratory concerns if inhaled. Wear gloves when removing ashes, and clean the charcoal area with clean hot, soapy water after the ashes are gone. Always follow the owner’s manual because each grill requires different care.
This after-use routine is the foundation of how to clean a grill without letting food debris, grease, or ash become a larger job. If a wire brush is part of your routine, inspect it and use a clean brush so loose bristles do not remain on the cooking surface.
Periodically and at the start of the season
Periodically, clean beyond the grates. Scrape excessive grease into the bottom tray, then clean both the bottom tray and drip tray. Interior scrubbing helps a grill perform well over time. Before the first regular use of the season, inspect the whole unit, remove stored residue, and clean it before cooking resumes. That seasonal reset is also a useful time to review the manufacturer’s instructions for your specific model and confirm that no coating. Burner component, or grate requires a special method.
Keep the boundary clear between grill maintenance and household cleaning. Clear Choice residential cleaning covers areas such as kitchens, bathrooms, bedrooms, living areas, floors, and common spaces. Standard cleaning focuses on regular upkeep, while deep cleaning addresses built-up dirt, grime, baseboards, and hard-to-reach areas. Read deep versus standard cleaning to compare those household services.
Stop and contact a qualified technician when the job involves grill repair, gas-line work, unsafe disassembly, or a condition that could create a fire risk. Clear Choice does not perform those technical tasks. For applicable residential cleaning needs around the home, request a quote from Clear Choice.
Contact Clear Choice to request a quote for residential cleaning
Frequently Asked Questions
How do you clean grill grates without a wire brush?
Use a wood scraper or another manufacturer-approved alternative to loosen residue. For stubborn buildup, soak removable grates before scrubbing. A clean, curly steel scour pad or balled-up aluminum foil held with tongs may also work, but inspect the grate afterward and remove any debris. Alabama Extension recommends a wood scraper as a safer alternative to a brush.
Can you clean grill grates with vinegar?
Vinegar can be used for soaking some grates, but check the owner’s manual first, especially for porcelain or coated surfaces. Alabama Extension describes a 2:1 vinegar-and-water solution before scrubbing. If you are unsure whether the solution is appropriate, test a small, inconspicuous area and stop if the finish changes. See the source guidance on vinegar soaking and grate care.
How do you clean a charcoal grill?
Wait until the grill is fully cool, put on gloves, and remove the old ashes instead of burning them to clean the grill. Burning ashes can release harmful chemicals and create respiratory risks. Once the ashes are removed, clean the charcoal area with hot, soapy water, then follow the manual for any remaining components. Alabama Extension provides this charcoal-cleaning sequence.
What should you use to clean the outside of a grill?
Start with warm, soapy water, rinse well, and dry the surface. For stainless steel, use a suitable mild stainless steel cleaner and a non-lint cloth when the manufacturer’s instructions allow it. Avoid oven cleaner and bleach cleaner on the lid because they can damage the grill and contaminate food. Iowa State Extension outlines exterior cleaning steps.
Ready to get help with household cleaning?
Once your grill is handled within the limits of its manual, Clear Choice Home Cleaning Services can help with applicable residential cleaning around the rest of your home. The team can discuss your needs and clarify what is within scope, while grill repair, gas-line work, and hazardous grease removal remain outside this service. Contact us to request a quote for the household cleaning help that fits your situation.