
How to Clean a Dryer and Lint Area Safely
Published · Updated · Clear Choice Home Cleaning Services
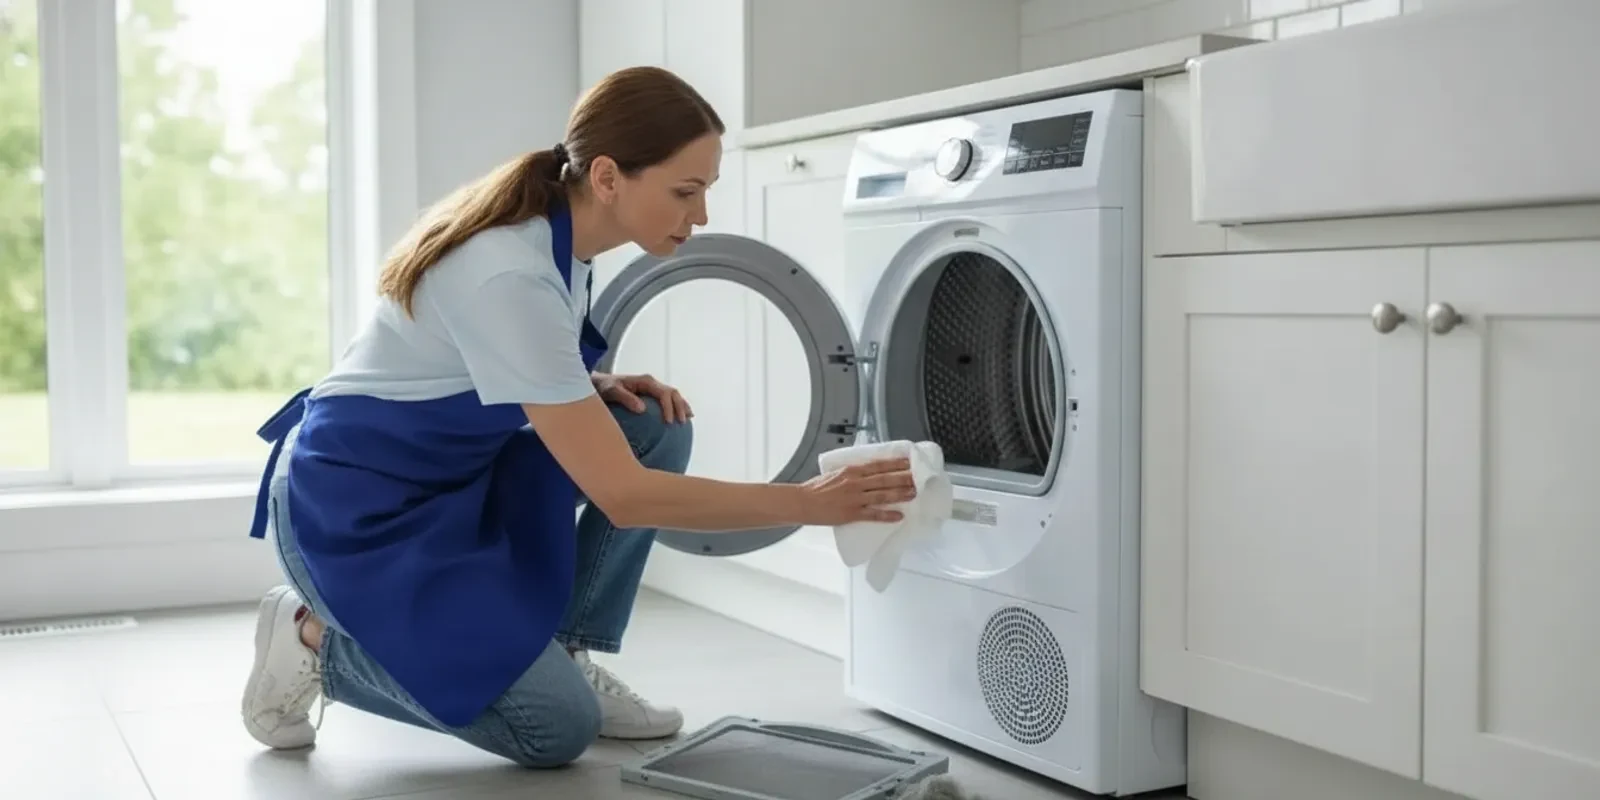
Knowing how to clean a dryer helps remove lint, residue, and dust from the places you can safely reach. A simple routine can keep the appliance and laundry area tidy, but it is important to distinguish ordinary cleaning from vent work or a repair. Start with the owner’s manual, disconnect power before cleaning accessible areas, and stop if you find damage, a burning smell, or lint you cannot reach safely.
What parts of a dryer can you clean yourself?
Most routine dryer cleaning involves four areas: the lint screen, the screen’s accessible housing, the inside of the drum, and the outside surfaces around the appliance. Depending on your model, the owner’s manual may also explain how to clean a moisture sensor or another user-accessible part. Follow those instructions for your specific dryer. Do not remove panels or reach into the machine’s internal components just to get more lint out. The exhaust duct or vent is a separate concern. Lint can collect in the path that carries warm, moist air outdoors, but the route may be long, hidden, crushed, or difficult to access. A basic wipe-down does not clean the whole vent system. Consumer Reports’ dryer-cleaning guidance also distinguishes routine lint-screen care from vent and moisture-sensor cleaning. Use your appliance manual to confirm which steps are suitable for your model.What should you do before cleaning?
Make the work area safe before you handle the dryer. Turn the appliance off and unplug an electric dryer before cleaning the drum, screen housing, or other accessible areas. If the plug is hard to reach, use the appropriate circuit breaker only if you can identify it confidently and operate it safely. Do not pull a dryer out forcefully to reach the plug. For a gas dryer, do not disconnect or move the gas line as part of routine cleaning. Turn the appliance off and follow the manufacturer’s instructions. If safe power isolation requires moving the machine, or you are unsure how to handle the gas connection, leave the work to a qualified appliance professional. Never use a vacuum, brush, or tool in a way that could damage wiring, a gas connection, or a component. Let the drum cool completely if the dryer has been running. Gather a soft cloth, mild dish soap, warm water, and a vacuum with a narrow attachment. A long, flexible lint-brush attachment can help with the lint-screen housing if the manual allows it. Avoid sharp tools, abrasive pads, and excess water. Keep children and pets away while the appliance is open or unplugged.How do you clean the lint screen?
Remove the lint screen and peel off the lint by hand after each load. Work gently so you do not bend or tear the mesh. If lint sticks to the screen, or it feels coated with a film from dryer sheets or fabric softener, wash it according to the manual:- Take the screen out of its slot and remove loose lint.
- Rinse it with warm water. Use a soft brush and a small amount of mild dish soap if the mesh has residue.
- Rinse away all soap, then let the screen air-dry completely.
- Hold the dry screen up to the light. If the mesh is damaged or still blocked, check the manual or ask the manufacturer about replacement.
- Return the screen only when it is fully dry and seated correctly.
How can you clean the lint-screen housing?
With the dryer off and power disconnected as appropriate, look into the opening where the screen sits. If you see loose lint within easy reach, remove it gently with a vacuum’s narrow attachment or a dryer-safe lint brush. Use only a tool that fits without force. Keep the attachment near the opening rather than pushing it deep into the machine. Do not use a metal coat hanger, knife, screwdriver, or improvised object to scrape the housing. A tool can damage components or push lint farther inside. Stop if the lint is packed tightly, the opening is obstructed, or you cannot see where the tool is going. A qualified appliance professional can assess an internal obstruction without guesswork. Do not confuse the lint-screen housing with the full exhaust vent. The housing is the accessible opening at the dryer; the vent continues beyond it and may run through a wall, ceiling, crawlspace, or other concealed area. If you need to inspect or clean a long or inaccessible route, consult a qualified vent-cleaning or appliance professional. Clear Choice Home Cleaning provides residential and other home cleaning services, not dryer vent cleaning, duct repair, or appliance repair. You can review the company’s home and commercial cleaning services separately from appliance work.How do you clean the inside of the dryer drum?
Wipe the drum with a soft cloth dampened with warm water and a little mild dish soap. Wring the cloth out well so it is damp, not dripping. Turn the drum by hand to reach the full interior surface, if your model allows it. Pay attention to the back wall, the area near the door, and any visible marks, while avoiding openings or parts that should not get wet. For a stubborn mark, use the cleaner and method recommended in your manual. Do not spray cleaner directly into the drum, use bleach or solvents unless the manufacturer specifically permits them, or scrub with an abrasive pad. These can damage a finish or leave residue that later transfers to clothing. If ink, dye, adhesive, or another material has transferred to the drum, check the manufacturer’s instructions before treating it. A solvent that removes a mark may be unsafe for the appliance or create fumes. After wiping, use a clean damp cloth to remove soap traces and then a dry cloth to finish. Leave the door open until the interior is dry before restoring power.How should you clean a moisture sensor?
Some dryers use moisture-sensing strips inside the drum to estimate when clothes are dry. Detergent, fabric-softener, or dryer-sheet residue may affect the sensor’s ability to read moisture. The sensor location and approved cleaning method vary by model, so check the owner’s manual first. If the manual identifies the sensor as user-cleanable, wipe it with the recommended cloth or cleaner. Do not scrape the strips or soak them. Avoid using a cleaner that leaves a film. If the dryer has a sensor-related error, keeps stopping unexpectedly, or the strips appear damaged, contact the manufacturer or an appliance professional instead of taking the machine apart.How do you clean the outside and the floor around the dryer?
Wipe the top, front, door, controls, and reachable sides with a soft cloth that is only lightly dampened. Apply cleaning solution to the cloth rather than spraying controls, seams, or openings. Dry the surfaces afterward. Use a suitable vacuum attachment on the floor and the exposed space around the machine, without tugging on cords, hoses, or the vent connection. Dust and lint can collect behind and beside the dryer. Only clean there if you can reach the area without moving the appliance or putting strain on a connection. Do not pull the dryer out by its door, cord, or vent. If access requires moving the appliance, especially a gas dryer, arrange help from a qualified person. A narrow gap is not a reason to compromise a gas line or crush the exhaust duct. Keep the area clear of laundry, boxes, and other items that could block airflow or make it harder to notice a damaged connection. If you have broader household cleaning to plan around a move, see this move-in deep-cleaning guide. It covers home preparation, not dryer servicing.How often should you clean each area?
Frequency depends on the dryer, the amount and type of laundry, and the manufacturer’s directions. A straightforward habit is to clear the lint screen after each load and clean other accessible surfaces when you see lint, dust, or residue. Wash the screen when buildup resists hand removal, and consult the manual for any sensor-care schedule or other model-specific instructions. Vent inspection and cleaning needs depend on the appliance setup and use. Do not rely on a calendar alone if the dryer’s behavior changes. Longer drying times, unusually hot clothes or surroundings, a burning odor, or a visible lint buildup near a connection warrant attention. Switch off the dryer if you suspect overheating or a blockage. Do not keep running cycles to see whether the issue clears.| Area | Routine action | When to stop and get help |
|---|---|---|
| Lint screen | Remove lint after each load; wash only as the manual permits if residue remains. | Mesh is torn, badly blocked, or will not seat properly. |
| Screen housing | Vacuum loose, visible lint within easy reach with a suitable attachment. | Lint is deep, packed, or requires forcing a tool into the opening. |
| Drum and sensor | Wipe the drum; clean sensor strips only by the manual’s method. | There is damage, an error, or a mark that needs an unapproved chemical. |
| Exhaust vent | Watch for visible damage or signs of restricted airflow; follow the manual’s inspection guidance. | Route is concealed or inaccessible, airflow seems restricted, or the duct is crushed or disconnected. |
| Exterior and floor | Wipe reachable surfaces and vacuum the accessible floor area. | Cleaning requires moving the dryer or disturbing a gas, electrical, or vent connection. |
When should you call an appliance or vent professional?
Cleaning is not a repair. Stop and seek qualified help if the dryer smells like something is burning, repeatedly overheats, trips a breaker, makes a new grinding or scraping noise, displays a persistent error, or takes much longer than usual to dry a similar load. These signs can have different causes; do not assume lint is the only one. Get a professional to assess the appliance or exhaust path if the vent is crushed, disconnected, visibly damaged, unusually long, or inaccessible; if lint keeps returning despite proper screen care; or if cleaning would require taking panels off. For gas odor, leave the area and contact the appropriate gas utility or emergency service from a safe location. Do not operate the dryer until a qualified person says it is safe. If you rent, notify your landlord or property manager about a suspected appliance or vent problem and follow your lease and local procedures. Do not alter a shared or concealed vent. If you own the home, use a qualified appliance repair or vent professional for work beyond routine cleaning. Clear Choice’s cleaning service FAQs can help with questions about home cleaning, but appliance repair questions should go to the appropriate specialist.What mistakes should you avoid?
- Skipping the lint screen: A full screen can collect lint and interfere with airflow. Clear it routinely and keep it installed during operation.
- Cleaning while the dryer is powered: Turn it off and isolate power before handling accessible areas. Follow the manual, and do not move a gas dryer to reach a plug.
- Using too much water: Keep water and cleaning products away from controls, openings, and internal components.
- Pushing tools too far: Do not force a brush or vacuum attachment into the housing or concealed vent.
- Assuming a clean screen means a clean vent: The screen catches lint but does not remove lint from the entire exhaust route.
- Ignoring new symptoms: Burning odor, overheating, extended drying, or poor airflow needs assessment, not another cycle.
- Reassembling a wet or damaged part: Let cleaned parts dry fully and replace a damaged screen before using the dryer.
Contact Clear Choice about home cleaning